After changing the “Number of processors”, “Maximum Memory”, “PCI Lock” settings in the MSCONFIG Advanced Boot Options dialog, Windows may not start correctly. In some cases, you’ll see the “HAL INITIALIZATION FAILED” or other blue screen errors at startup.
Resolution
After three unsuccessful boot attempts, Windows will allow you to load the Windows Recovery Environment (RE). If not, you can use a bootable USB Windows setup disk to enter Windows RE.
In Windows RE, click Troubleshoot → Advanced Options → Command Prompt.
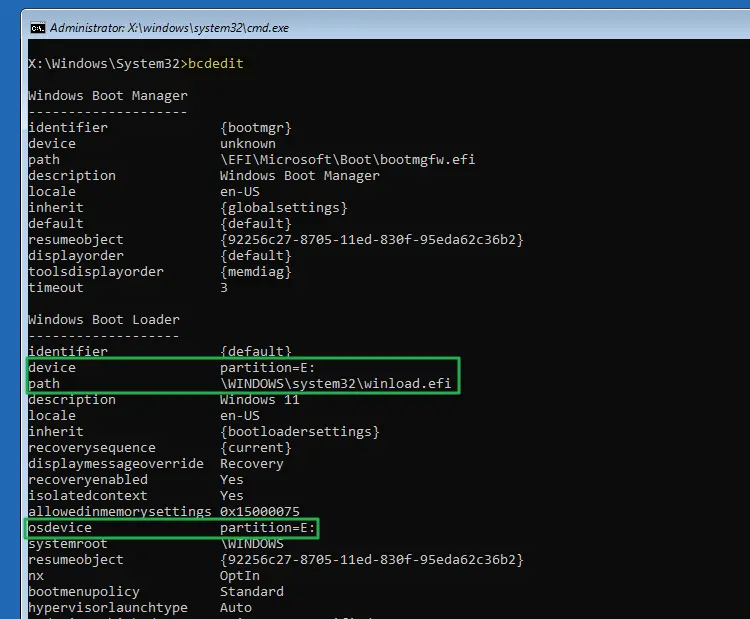
Run bcdedit and note down the drive-letter of your Windows partition.

Let’s say the Windows partition’s drive-letter is E:\
Backup your Boot Configuration Database (BCD) file by running the following command, where E:\ is your Windows partition:
bcdedit /export E:\bcd.bak
To revert the changes you made in the MSCONFIG “Advanced Boot Options” dialog, run these commands:
bcdedit /deletevalue {identifier} numproc
bcdedit /deletevalue {identifier} truncatememory
bcdedit /deletevalue {identifier} usefirmwarepcisettings
Important: Be sure to replace the {identifier} placeholder tag in the command-line with the actual identifier. You need to type the identifier of your Windows boot entry. It may be {default} , or it can be a GUID value — e.g., {01c14186-02d4-11ec-b09a-9162d361498b}, depending upon how you booted in Windows RE.
Press Enter after typing each command.
Note: You should see the message “The operation completed successfully.” for each command.
The above commands will undo your faulty MSCONFIG Advanced Boot Options settings.
To restart the computer, run the following:
wpeutil reboot
See if you’re able to start Windows.
One small request: If you liked this post, please share this?
One "tiny" share from you would seriously help a lot with the growth of this blog. Some great suggestions:- Pin it!
- Share it to your favorite blog + Facebook, Reddit
- Tweet it!