The traditional MSI (Microsoft Installer) based installation allowed you to install or uninstall individual office products (e.g., Word, Excel, or PowerPoint). But the Office click-to-run (CTR) installations don’t allow installation choices. Click-to-Run is the technology used to install Microsoft 365, and most versions of Office 2013 and newer.
You won’t see the custom install screen in the Office CTR setup. All the bundled apps in the Office Setup package/SKU are installed automatically. Each app shown on the setup screen will be installed.
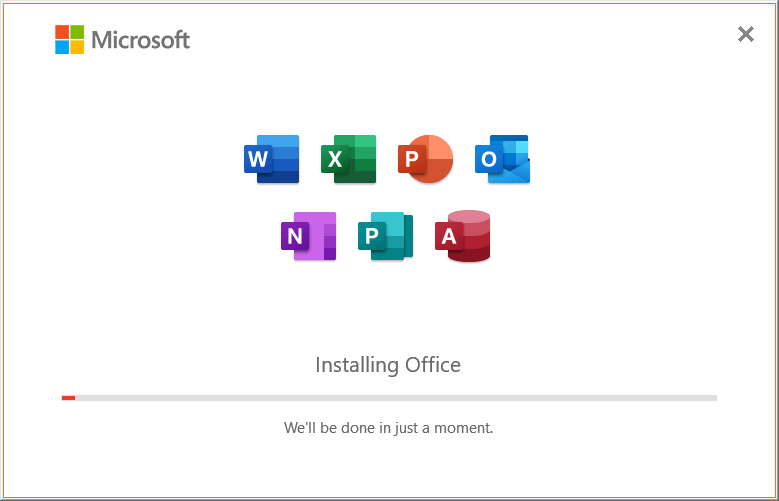
The CTR setup.exe is a small installer stub that downloads the entire setup files from the Microsoft Office Content Delivery Network (CDN). MSI-based setup packages are usually provided in a DVD or USB flash drive.
Many users wonder how to install or uninstall selected app(s) (e.g., Word and Outlook) while excluding all other products in the suite during CTR installation. So, let’s see how to do custom installation/uninstallation of Office applications in this article.
Custom Install/Uninstall Individual Office 2016/2019/365 Apps
Custom installation or uninstallation of Office 2016/2019/365 product is possible using the Office Deployment Tool and a setup configuration file (XML). The Office Deployment Tool (ODT) is a command-line tool that you can use to download and deploy Click-to-Run versions of Office, such as Microsoft 365 Apps for enterprise, to your client computers. This tool can also be used to download, install, and configure Office on a single standalone computer.
Step 1: Download Office Deployment Toolkit (ODT)
- Download Office Deployment Tool from Microsoft Download Center.
- Create a folder on the hard drive where you want to store the Office Setup files — e.g.,
E:\Office Setup - Run the ODT setup file, read and accept the license agreement.
- In the browse dialog, point to the source folder
E:\Office Setup.
Step 2: Create/edit the configuration file (XML)
Using Notepad, create a file named configuration.xml (or any name you prefer) in the “Office Setup” folder, with the following contents:
<Configuration>
<Add OfficeClientEdition="64" Channel="Current">
<Product ID="O365BusinessRetail">
<Language ID="en-us" />
<ExcludeApp ID="Access" />
<ExcludeApp ID="Excel" />
<ExcludeApp ID="Groove" />
<ExcludeApp ID="Lync" />
<ExcludeApp ID="OneDrive" />
<ExcludeApp ID="OneNote" />
<ExcludeApp ID="PowerPoint" />
<ExcludeApp ID="Publisher" />
<ExcludeApp ID="Teams" />
</Product>
</Add>
<Updates Enabled="TRUE" />
<Display Level="Full" AcceptEULA="TRUE" />
</Configuration>
(Reference: Configuration options for the Office Deployment Tool | Microsoft Docs)
Bitness
In the above sample XML file, OfficeClientEdition=”64″ denotes that you want to install the 64-bit version of Office. If you want the x86 version, use OfficeClientEdition=”32″ instead.
Edition
The Product ID used in the above example is O365BusinessRetail. Use the appropriate ID as per your requirement. Here are some commonly used Product IDs for Office 365 installations.
- O365HomePremRetail
- O365ProPlusRetail
- O365BusinessRetail
- VisioProRetail
- ProjectProRetail
- AccessRuntimeRetail
Other than the above, you can use the non-Office 365 product IDs listed on this page:
Product IDs that are supported by the Office Deployment Tool for Click-to-Run
Exclude Apps
You can add the list of apps you want to exclude/prevent installing. For instance, you want only Word and Outlook apps from the Office suite, exclude all other programs.
Here’s the full list of App IDs that can be used. Excluded apps won’t be installed.
- “Access”
- “Excel”
- “Groove”
- “Lync”
- “OneDrive”
- “OneNote”
- “Outlook”
- “PowerPoint”
- “Publisher”
- “Teams”
- “Word”
Note: The App ID for “Skype for Business” is “Lync.”
Alternate Methods for creating/editing XML files
ODT’s Built-in Configuration Files
The ODT setup file extracts the following files into the source folder:
- configuration-Office365-x64.xml
- configuration-Office365-x86.xml
- configuration-Office2019Enterprise.xml
- configuration-Office2021Enterprise.xml
- setup.exe
You can also edit the existing configuration file as required, instead of creating a new one.

Office Configuration Tool (online) from Microsoft
Alternately, you can use Microsoft’s Office Customization Tool (online) to create a custom configuration file.
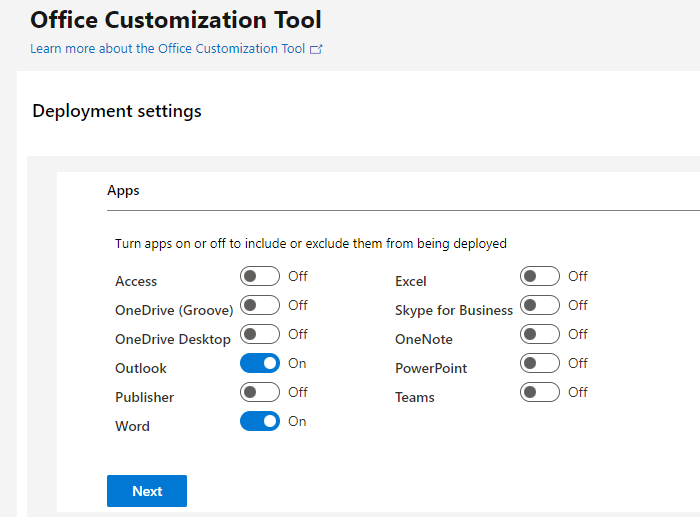
![]() The online Office Customization Tool is probably the easiest way to create an Office setup configuration XML file. You can configure a lot of settings using that tool.
The online Office Customization Tool is probably the easiest way to create an Office setup configuration XML file. You can configure a lot of settings using that tool.
Step 3: Download Office Setup files locally
The next step is to download Office Setup files locally using the ODT’s setup.exe file. Use the following command-line to accomplish the task:
E:\Office Setup\Setup.exe /download E:\Office Setup\Configuration.xml
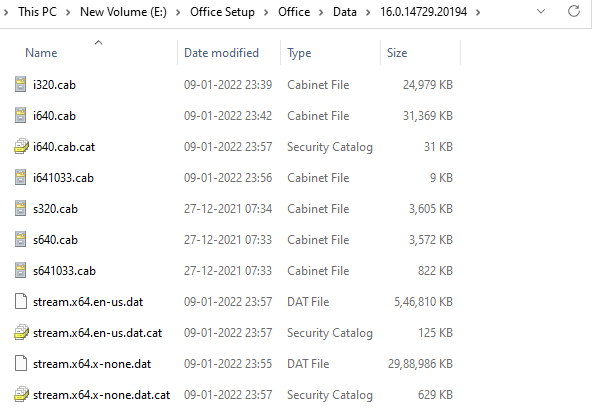
Now, the Office Setup package will start downloading in the background. It will be stored in the E:\Office Setup\Office directory.
Getting the “Couldn’t install” error?
Are you getting the following error when running the “setup.exe /download …” command-line?
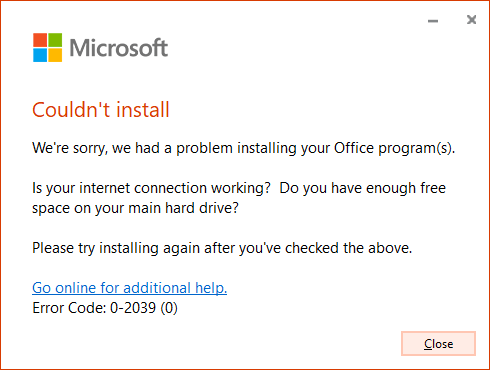
Couldn't install

We're sorry, we had a problem installing your Office program(s).

Is your internet connection working? Do you have enough free
space on your main hard drive?

Please try installing again after you've checked the above.

Go online for additional help.
Error code: 0-2039 (0)
The above error occurs due to one or more syntax errors in the XML file. Here are some possible mistakes users may commit:
Wrong syntax:
<  Language ID="en-us" />

The correct syntax is:
<Language ID="en-us" />
Wrong syntax:
<ExcludeApp ID="Access">

The correct syntax is:
<ExcludeApp ID="Access" />
If you’re not comfortable creating or editing the configuration files manually, use Microsoft’s Office Configuration Tool (online) discussed earlier in this article.
Step 4: Run Office Setup (Custom Install)
The next step is to run the Office setup using the configuration XML file. Run the following command-line:
E:\Office Setup\Setup.exe /configure E:\Office Setup\Configuration.xml
That’s it. Office setup will now start.
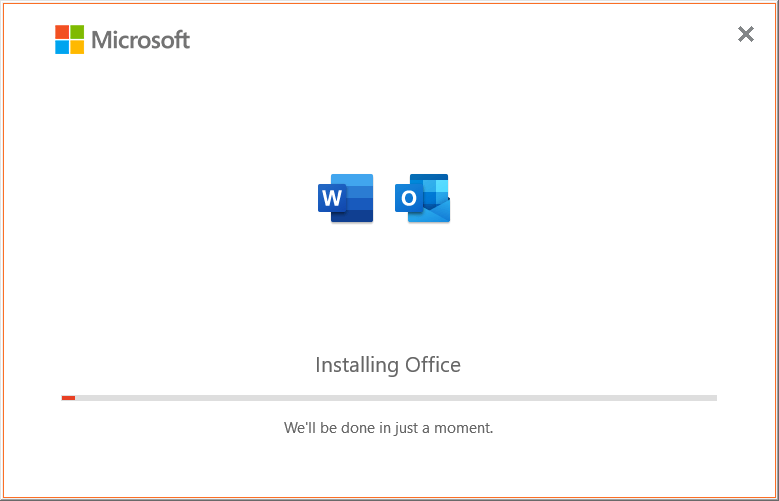
Note that only two icons (Word and Outlook) are visible in the Setup screen because we have excluded all other apps individually, using the configuration file. Compare this with the 1st screenshot in this article.
Here you go! Only the chosen Office apps (Word and Outlook) are now installed.
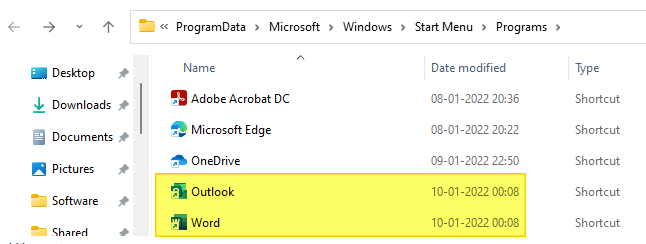
Launch an Office app, input the license key (for one-time purchase edition) or login to your Microsoft ID (if it’s Office 365 subscription edition) and activate the product.
(Note that you can also activate Office automatically by including the product key in the configuration file.)
How to Uninstall Individual Office Apps
Uninstalling individual Office apps from an existing Office installation can be done using the same setup.exe /configure command-line we saw earlier. In the configuration file, match the edition and bitness of your Office version with the edition of Office currently installed on the computer.
You can check the bitness of your Office version via the About box in each Office app.
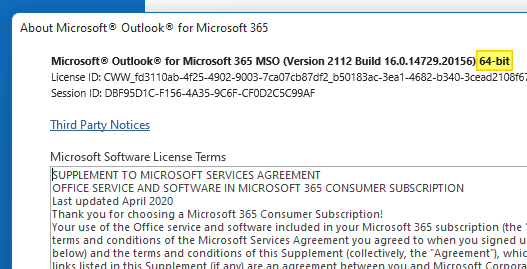
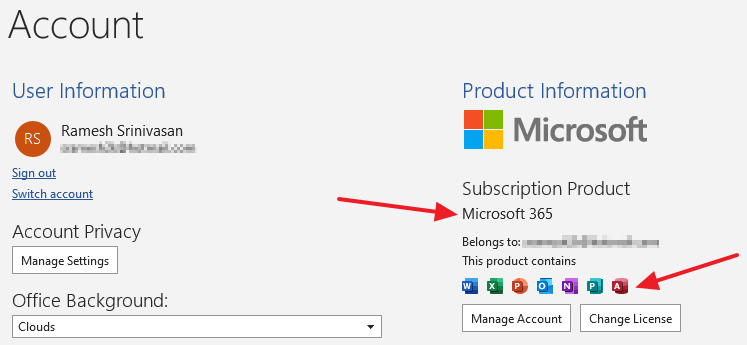
In the above example, the edition is Office 365 (64-bit). If yours is a one-time purchase edition, it may be Microsoft Office 2019 Home & Student, Home & Business, Standard, Professional, or Professional Plus. For the complete list of Office 365 and non-Office 365 product IDs (to use in the XML file), check out this Microsoft article:
Product IDs that are supported by the Office Deployment Tool for Click-to-Run
Input the ExcludedApps as desired. The excluded apps will be uninstalled when you run setup.exe using the configuration file. For example, to remove Word, add the following line in the XML file:
<ExcludeApp ID="Word" />
Once the configuration file is ready, run this command to uninstall unwanted Office apps selectively:
E:\Office Setup\Setup.exe /configure E:\Office Setup\Configuration.xml
That’s it. The excluded apps are now uninstalled.
Likewise, you can easily add/install individual Office apps (custom installation) using the XML file.
One small request: If you liked this post, please share this?
One "tiny" share from you would seriously help a lot with the growth of this blog. Some great suggestions:- Pin it!
- Share it to your favorite blog + Facebook, Reddit
- Tweet it!
Good stuff! Thanks for the detailed info.
Thanks, this was a big help.
For example, to Uninstall Publisher, configuration file should contain only one line ?